
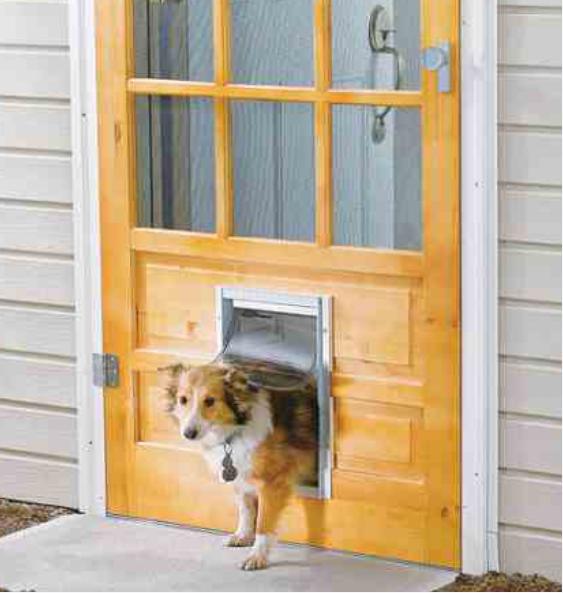
How Do You Install a Dog Door? A Step-by-Step Guide
Installing a dog door can offer your pet the freedom to go in and out while reducing your routines. This guide will walk you through how to install a dog door with ease. From selecting the right type and size to ensuring proper safety measures, you’ll find all the necessary steps and tips here. Whether you’re a seasoned DIY-er or just starting, this guide will make the installation process straightforward.
What to Know Before Installing a Dog Door
Choosing the Right Type and Size
Before you start, consider the type and size of the dog door that suits your pet’s needs. Measure your dog’s height and width to find a door that fits comfortably. Dog doors come in various designs, including flap doors, electronic doors, and sliding doors. Think about your home’s structure and choose one that complements your lifestyle and your dog’s activity level.
Tools and Materials You’ll Need
Gathering the proper tools and materials can save you time and frustration. You’ll need:
Having these items on hand ensures a smoother installation process.
Safety Considerations and Placement Tips
Placement of the dog door is crucial. Select a low-traffic area that doesn’t expose your home to extreme weather conditions or compromise security. Consider safety elements like avoiding electrical wiring or plumbing within the wall or door where you intend to install the dog door.
How Do You Install a Dog Door? Step-by-Step Process
Step 1: Measure Your Dog and Mark the Door
Start by measuring your dog’s width and height to determine the proper placement. Mark the bottom of the door opening at least two inches above the ground to allow for proper clearance. Use a pencil and measuring tape to mark the outline where you will cut.
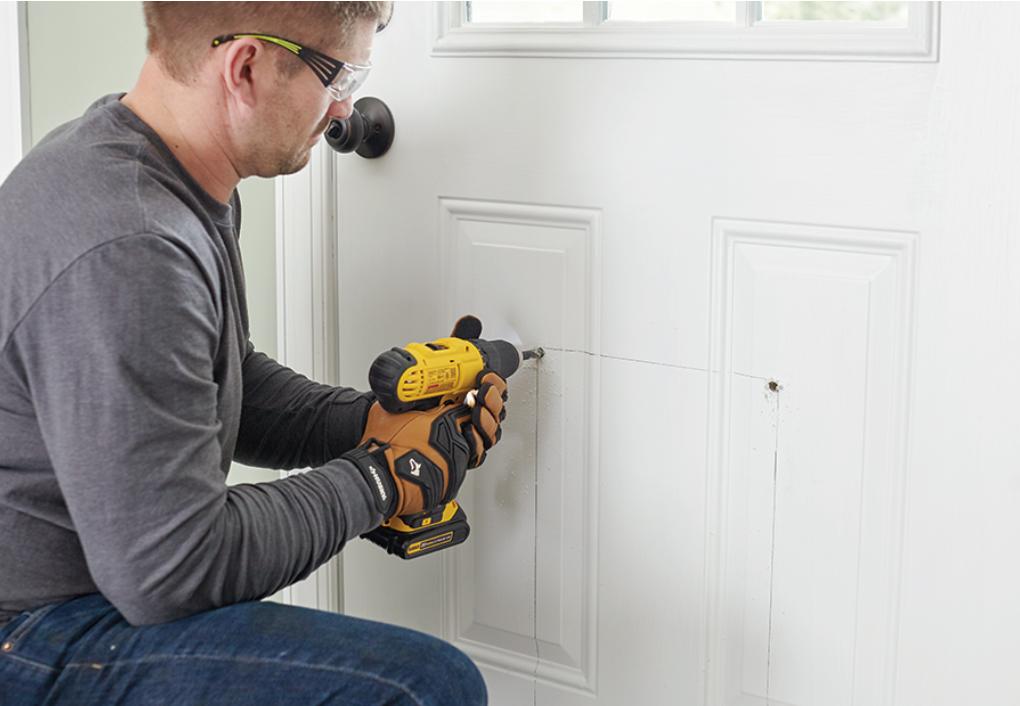
Step 2: Trace and Cut the Opening
Next, use the template that comes with your dog door kit to trace the outline on the door. Ensure it’s level and appropriately placed on your marks. Carefully cut along your traced lines with a jigsaw. Take your time to ensure clean, precise cuts, reducing the risk of needing adjustments.
Step 3: Install the Dog Door Frame
Insert the dog door frame into the cutout, following the manufacturer’s instructions. Ensure the frame fits snugly in place. You may need to drill holes for screws if required. Check alignment to make sure the door will swing freely.
Step 4: Secure and Seal the Door
Attach the dog door securely using the provided screws. Make sure all parts are tightly fitted and that the flap moves without obstruction. Use caulking to seal any gaps between the dog door and the original door to prevent drafts and water leaks.
Step 5: Test the Door and Train Your Dog
Once installed, test the door to ensure it operates smoothly. Encourage your dog to use the door by guiding them through it several times. Use treats and positive reinforcement to train your dog to use their new door comfortably.
Common Mistakes to Avoid When Installing a Dog Door
Incorrect Measurements
One common mistake is incorrect measurements. Always double-check measurements to ensure the door fits your pet and the chosen location. Mistakes here can mean a poorly fitting door that doesn’t function correctly.
Poor Placement Choices
Choosing the wrong spot for installation can lead to inconvenience and security risks. Avoid installing dog doors near high traffic areas, windows, or where extreme weather conditions can impact your home’s interior.
Inadequate Weatherproofing
Proper weatherproofing is essential to maintain your home’s energy efficiency. Skipping caulking or selecting a door without a good seal can lead to drafts and increased energy costs.
Should You Hire a Pro or DIY a Dog Door Installation?
When to Consider Professional Help
While a DIY installation can save money, you may want to hire a professional for more complex setups, like installing a dog door in a wall or glass door. Professionals ensure precise placement and secure fitting, which can be tricky for less experienced DIY-ers.
Cost Comparison and Time Investment
DIY installations generally cost less as you save on labor. However, consider the time and the potential cost of mistakes. Professional installation costs more upfront but can ensure a quicker and mistake-free process, saving you in the long run.
Conclusion
Installing a dog door provides your pet with freedom and can make your life easier. By following this step-by-step guide, you can achieve a secure and well-functioning dog door. Take the time to measure carefully, choose the right door type, and follow through with accurate installation practices. Whether you do it yourself or hire a professional, a well-installed dog door is a valuable addition to your home.
FAQ
Can I install a dog door in a glass door or wall?
Yes, but installing a dog door in glass or a wall is more complex and might require professional help to ensure a secure and safe fit.
Will a dog door affect my home’s security or energy efficiency?
Proper installation and weatherproofing can minimize any impact on security or energy efficiency. Use doors with strong seals and install locks if needed.
How long does it take to install a dog door by yourself?
The installation can take a few hours, depending on your DIY skills and the type of door. Gathering all tools beforehand and following the guide step-by-step will streamline the process.