
How to Build a Dog Ramp for Your Home: A Step-by-Step Guide
If you have a pet, especially an older dog or one with mobility issues, a dog ramp can be a lifesaver. Building a custom ramp is an easy and cost-effective solution. Rather than purchasing an expensive pre-made ramp, you can design one suited perfectly to your dog’s needs. This guide will walk you through every step of the process, from gathering materials to adding the final touches to make the ramp safe and comfortable.
Why Does Your Dog Need a Ramp?
A dog ramp can significantly enhance your pet’s quality of life. Older dogs, dogs with arthritis, or small breeds that struggle with stairs will benefit from the ease of access a ramp provides. Ramps reduce the stress on joints and muscles, which is crucial for maintaining your dog’s health. Furthermore, it reduces the risk of injury that can occur from jumping on and off furniture or vehicles. If your dog hesitates at steps or shows signs of discomfort while climbing, building a ramp is a practical and compassionate solution.
What Materials and Tools Do You Need?
Before you start building, gather all necessary materials and tools. You’ll need plywood for the base, carpet or non-slip tape for the walking surface, and wooden planks for supports. Essential tools include a saw, a drill, screws, a measuring tape, and sandpaper. Make sure the materials are sturdy enough to support your dog’s weight. For added safety, you may consider rubber grips for the feet of the ramp to prevent slipping. Having everything prepared ahead of time will streamline the building process and ensure your ramp is built efficiently and safely.
How to Build a Dog Ramp: Step-by-Step Instructions
Step 1: Measure and Plan
Start by measuring the height of the surface you’ll be placing the ramp against. This will help you determine the length of the ramp. The ideal slope should be gentle—aim for a ratio of 1:4. For example, if the height is 24 inches, the ramp should be at least 96 inches long. Draw a plan detailing the dimensions, and consider where you will place support beams and how you will ensure stability.
Step 2: Cut the Plywood and Supports
Once you have your measurements and plan, cut the plywood to the desired length and width. For extra stability, also cut wooden planks to act as supporting beams beneath the ramp. The support beams should be evenly spaced and run the length of the ramp. Make sure all the edges are smooth by sanding them down to avoid splinters that could harm your pet.
Step 3: Assemble the Ramp
Lay the plywood on a flat surface and align your support beams underneath it. Using a drill, attach the beams to the plywood with screws. Be sure to use enough screws to ensure the structure is sturdy. Double-check that everything is aligned properly and that the ramp feels solid. This is your ramp’s skeleton, so it needs to be robust.
Step 4: Add a Non-Slip Surface
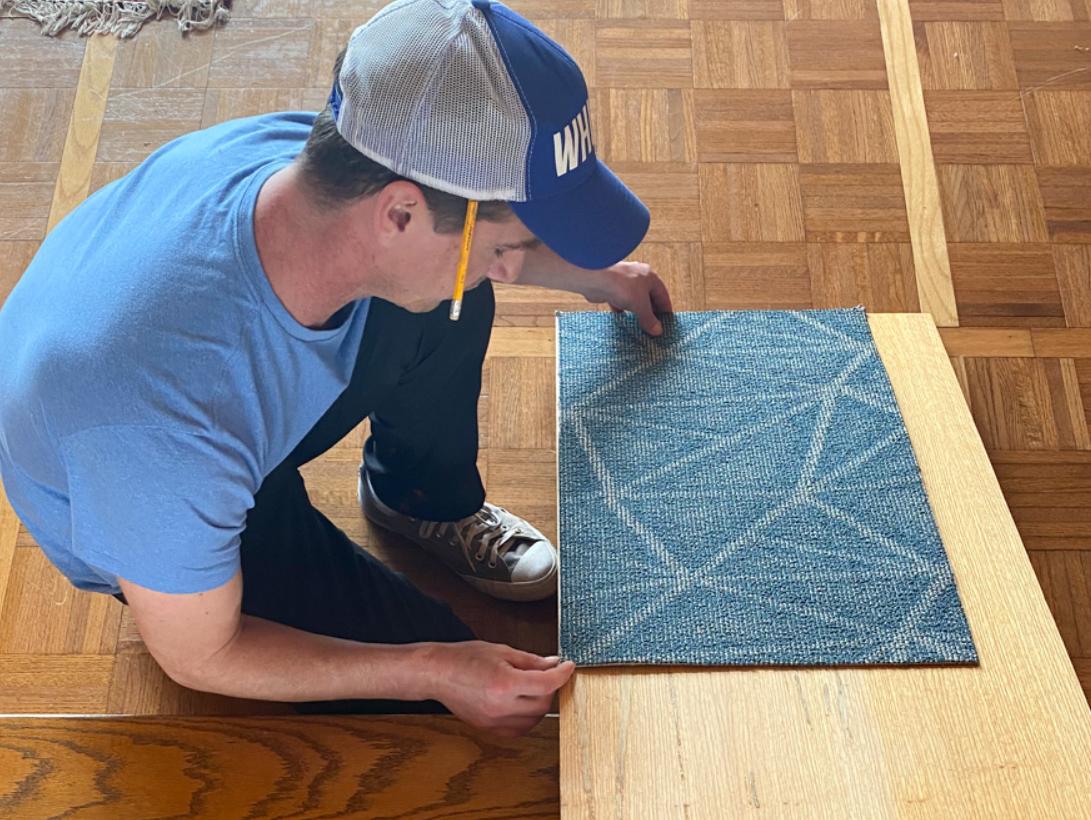
To prevent your dog from slipping, cover the surface of the ramp with carpet or non-slip tape. If using carpet, cut it to fit the dimensions of the ramp and attach it using strong adhesive or a staple gun. For non-slip tape, simply adhere it directly to the plywood in even strips. Test the surface to ensure it provides enough traction for your dog.
Step 5: Final Touches and Testing
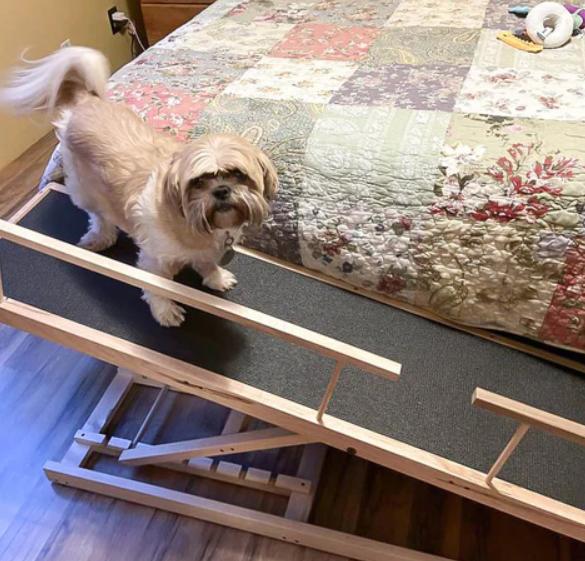
Finally, add rubber grips to the feet of the ramp to prevent it from sliding on hard floors. Place the ramp in its intended location and test its stability. Walk your dog up and down the ramp a few times, offering treats to encourage them. Pay attention to any signs of discomfort or hesitation, and make adjustments as needed. Make sure the ramp feels secure and safe for daily use.
How to Make Your Dog Ramp Safe and Comfortable?
Safety and comfort are key when using a dog ramp. Ensure the ramp surface has enough traction to prevent slipping. Regularly check for wear and tear, and replace the non-slip surface as needed. You can add side rails if your dog needs extra guidance. Make sure the ramp is positioned at a gentle slope and securely anchored to prevent movement. Test the ramp regularly and monitor your dog’s comfort while using it. Add padding beneath the carpet if your dog needs extra cushioning. Remember, a well-maintained ramp not only prevents accidents but also encourages your dog to use it with confidence.
Can You Customize the Ramp to Match Your Home?
Absolutely! A dog ramp doesn’t have to be an eyesore. You can paint or stain the wood to match your home decor. Use a durable, pet-safe finish that coordinates with your existing furnishings. You can also choose a carpet color that blends seamlessly with your interior design. Adding decorative trims or personal touches can make the ramp feel like part of your home rather than an utilitarian object. Customizing the ramp helps it integrate aesthetically while still serving its essential function.
Conclusion
Building a dog ramp is a valuable project that can greatly improve your pet’s quality of life. With careful planning and the right materials, you can construct a ramp that is safe, comfortable, and customizable to fit your home. Follow these step-by-step instructions, and soon your furry friend will enjoy easier access to their favorite spots.
FAQ
What is the ideal slope for a dog ramp?
The ideal slope for a dog ramp is typically a 1:4 ratio. This means for every one inch of height, the ramp should be four inches long. This gentle incline makes it easy for your dog to ascend and descend without straining their joints.
Can I use a dog ramp for older or disabled pets?
Yes, a dog ramp is especially beneficial for older or disabled pets. It provides a safe and easy way to navigate elevations, reducing the risk of falls and injuries. It’s a compassionate solution that supports their mobility and overall well-being.
How much weight can a DIY dog ramp support?
The weight capacity of a DIY dog ramp depends on the materials used. Generally, a well-constructed ramp with sturdy plywood and robust supports can comfortably hold medium to large breed dogs. Always test the ramp’s stability to ensure it can support your dog’s weight safely.